Master Astrophotography: Key Settings Explained
As you delve into the captivating world of astrophotography, understanding the nuances of camera settings can transform your night sky images from ordinary to extraordinary. Did you know that mastering just three key settings can significantly enhance your photography experience? Let’s uncover the essential insights that will elevate your skills!
What You Will Learn
- ISO plays a crucial role in capturing light; starting at around ISO 1600 is often ideal for beginners.
- A wide aperture (like f/2.8) is essential for gathering light and capturing celestial details.
- Understanding shutter speed, particularly the 500 Rule, helps avoid star trails and captures clearer images.
- Post-processing techniques can significantly enhance your astrophotography images, making them pop with color and detail.
- Engaging with the astronomy community can provide valuable feedback and inspiration for your photography journey.
- Utilizing interactive tools and apps can streamline your workflow, making astrophotography easier and more enjoyable.
Astrophotography Key Settings: A Quick Guide
Mastering ISO, Aperture, and Shutter Speed is crucial for stunning night sky photos. This guide summarizes optimal settings for beginners. For a more comprehensive look at getting started, check out our beginners guide to astrophotography.
ISO (Sensor Sensitivity)
Best for Beginners: 1600
- ISO 800-1600: Clear nights
- ISO 3200: Very dark skies (sparingly)
- ISO 400: Brighter celestial objects
Aperture (Light Gathering)
Ideal Range: f/2.8 or lower
- f/2.8: Most situations
- f/4: Slightly brighter nights
- f/5.6: Only for well-lit objects
Shutter Speed (Exposure Time)
Rule of 500: 500 / Focal Length
- 500 / 18mm ≈ 27 seconds
- 500 / 24mm ≈ 21 seconds
- 500 / 50mm ≈ 10 seconds
Post-Processing (Enhancement)
Essential Tools: Lightroom & Photoshop
- Adjust Contrast & Color
- Reduce Noise & Sharpen
- Lightroom: Bulk edits; Photoshop: Detailed adjustments
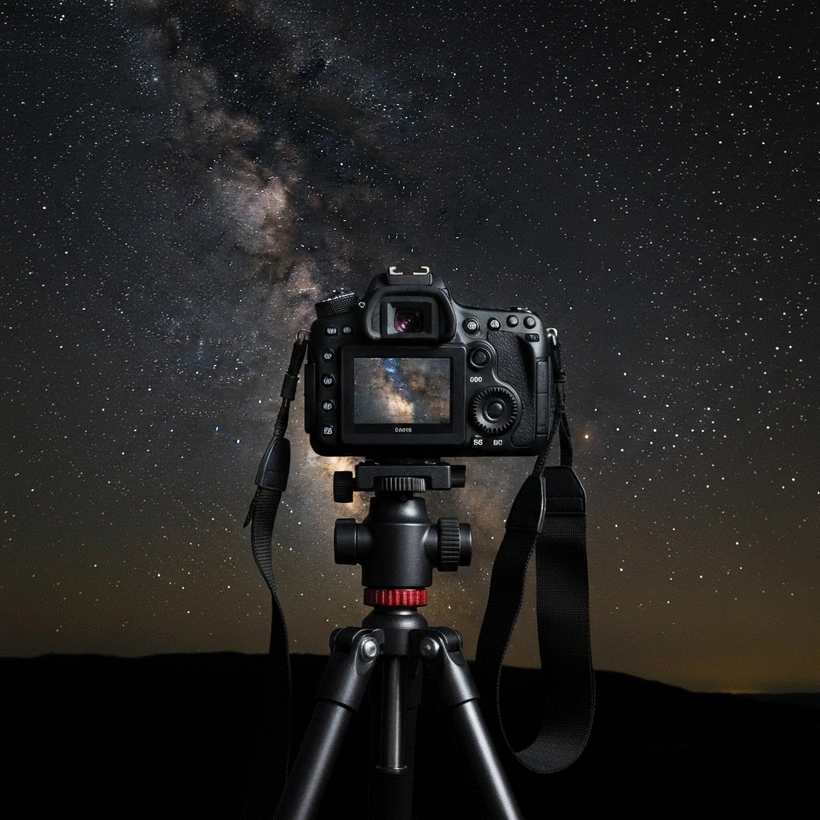
Understanding Astrophotography: Key Settings Explained
Astrophotography is not just about pointing and shooting; it’s an art that requires understanding your camera settings to capture the beauty of the night sky. At Milroy Observatory, we emphasize that mastering key settings such as ISO, aperture, and shutter speed can dramatically enhance your images. Let’s explore these essential elements together!
The Role of ISO in Astrophotography
ISO is one of the most critical settings in astrophotography. It determines how sensitive your camera's sensor is to light. A higher ISO can help you capture stars even in low-light conditions, but it also introduces noise—that grainy effect you want to avoid.
Choosing the Right ISO for Your Shots
When selecting the ideal ISO, it’s crucial to find a balance that allows your photos to shine without becoming too noisy. For beginners, starting with an ISO of around 1600 is a great choice. This setting often provides enough sensitivity without compromising image quality too much.

- ISO 800-1600: Good for most clear nights.
- ISO 3200: Use sparingly for very dark skies.
- ISO 400: Consider this for brighter celestial objects.
Keep in mind that every camera performs differently, so experimenting with your specific equipment is key to finding the right ISO for your night sky adventures!
ISO Range: Best Practices for Beginners
As you start your astrophotography journey, it's important to understand the ISO range your camera can handle effectively. Lower ISO settings produce cleaner images but require more light, while higher settings let in more light but can add unwanted noise.
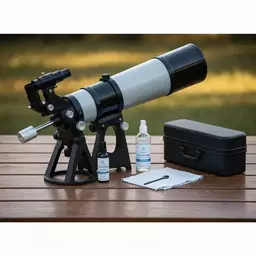
Always check your camera's capabilities and test different settings under the stars. This way, you’ll learn what works best for various conditions, setting you up for success in your astrophotography endeavors! For more insights into essential gear, read our article on astrophotography gear for Australia.
Aperture: Capturing the Night Sky
The aperture is another crucial factor in capturing stunning astrophotography images. It refers to the size of the opening in your lens that lets light in, measured in f-stops. A wider aperture (smaller f-number) allows more light to hit your sensor, which is essential when photographing dim celestial objects.
The Importance of Wide Aperture for Astrophotography
For astrophotography, a wide aperture—typically around f/2.8 or lower—is ideal. This setting helps you gather as much light as possible, making it easier to capture stars and other celestial phenomena.
- f/2.8: Great for most situations.
- f/4: Acceptable for slightly brighter nights.
- f/5.6: Use only for well-lit celestial objects.
Choosing the correct aperture can profoundly affect the outcome of your photos, so make sure to adjust accordingly!
How Aperture Affects Exposure and Depth of Field
Aperture not only influences the amount of light that reaches your sensor but also impacts your exposure and depth of field. A wide aperture results in a shallower depth of field, which can beautifully isolate your subject against a blurred background.
Remember, the wider the aperture, the less of the image will be in focus. This can be a creative choice, but it's essential to understand how depth of field works to achieve the desired effect in your astrophotography.
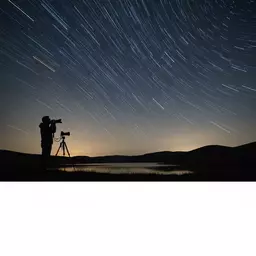
Shutter Speed: Timing Your Exposure
Shutter speed is the last vital component we’ll discuss today. It controls how long your camera’s shutter is open to capture light. In astrophotography, timing is everything—too long, and you risk star trails; too short, and you might miss that perfect moment!
Understanding the 500 Rule for Star Photography
The 500 Rule is a handy guideline for determining the maximum shutter speed you should use to avoid star trails. To apply this rule, simply divide 500 by the focal length of your lens:
- 500 / 18mm = ~27 seconds
- 500 / 24mm = ~21 seconds
- 500 / 50mm = ~10 seconds
This simple calculation helps you achieve crisp, clear stars in your images, making your astrophotography efforts more successful!
Balancing Shutter Speed with ISO and Aperture
Finding the right balance between shutter speed, ISO, and aperture can be challenging, but it’s essential for capturing stunning astrophotos. If you increase your shutter speed, you may need to raise your ISO or widen your aperture to compensate for the reduced light intake.
Experimentation is key here! Try different settings and take notes. Over time, you’ll discover what combinations work best for the conditions you’re shooting in. Happy shooting! For more detailed guidance, learn about capturing stars with a long exposure guide.
We Want to Hear From You!
As you dive into the world of astrophotography, which camera setting do you find most challenging to master? Share your thoughts below:
Frequently Asked Questions About Astrophotography Settings
- What are the three most important camera settings for astrophotography?
- The three most important camera settings are ISO (sensor sensitivity), Aperture (light gathering), and Shutter Speed (exposure time).
- What ISO setting is recommended for beginners in astrophotography?
- For beginners, an ISO of around 1600 is a great starting point, offering a good balance between light sensitivity and minimizing image noise.
- Why is a wide aperture important for astrophotography?
- A wide aperture (smaller f-number like f/2.8 or lower) is crucial because it allows more light to enter the camera sensor, which is essential for capturing faint celestial objects in low-light conditions.
- What is the 500 Rule in astrophotography?
- The 500 Rule is a guideline to calculate the maximum shutter speed to use before stars begin to trail in your photos. You divide 500 by your lens's focal length (e.g., 500 / 18mm ≈ 27 seconds).
- How does post-processing enhance astrophotography images?
- Post-processing allows you to adjust contrast, correct colors, reduce noise, and sharpen details, turning a good image into a great one and bringing out the hidden beauty of the cosmos.
Conclusively Optimizing Your Astrophotography Experience
Astrophotography is more than just clicking a shutter button; it's about capturing the beauty of the cosmos in its full glory! At Milroy Observatory, we believe that post-processing is a crucial part of the journey, helping you bring out the best in your night sky photos. Let’s dive into some essential techniques that can truly enhance your images!
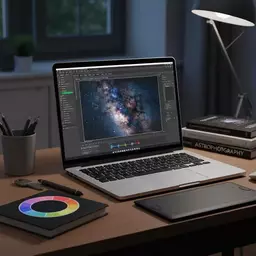
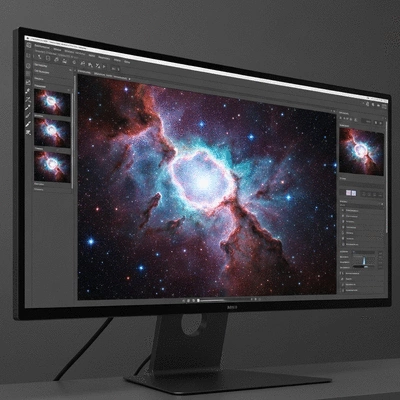
Post-Processing: Enhancing Your Astrophotography Images
After spending hours under the stars, the last thing you want is for your images to fall flat. Post-processing offers you the opportunity to bring your vision to life. Here are some editing techniques that can help elevate your astrophotography:
- Adjusting contrast to highlight the details of celestial objects
- Color correction to ensure accurate representation of colors
- Reducing noise, especially in long exposure shots
- Sharpening key features to bring out fine details
By implementing these techniques, you'll not only improve the visual appeal of your images but also convey the wonder you experienced while capturing them! The right edits can turn a good photo into a great one.
Essential Editing Techniques for Night Sky Photos
When it comes to editing your night sky photos, there are several tools that can assist you. Popular software like Lightroom and Photoshop offer robust features tailored for astrophotographers. Here’s a quick look at how you can use each:
- Lightroom: Perfect for bulk editing and applying consistent settings across multiple images.
- Photoshop: Ideal for detailed adjustments, such as layering images or advanced noise reduction.
Familiarizing yourself with these tools will make your post-processing workflow smoother and more efficient. Remember, practice makes perfect!
Your Next Steps in Astrophotography
Now that you have some editing skills under your belt, it’s time to share your work and connect with fellow enthusiasts! Engaging with the astronomy community can provide you with valuable feedback and inspiration for your next projects.
Engaging with the Community: Sharing Your Work
Don't keep your astrophotography to yourself! Here are some ways to share your stunning images:
- Join online forums and social media groups focused on astronomy
- Participate in local astronomy clubs or events
- Submit your best work to photography contests
Sharing your images not only helps you connect with like-minded individuals but can also open doors to new learning opportunities. At Milroy Observatory, we love seeing our community's work, so don't hesitate to tag us!
Interactive Tools and Cheat Sheets for Quick Reference
To help streamline your astrophotography workflow, consider utilizing cheat sheets and apps. These tools can offer quick tips on settings and techniques right when you need them. Here are a couple of resources to get you started:
- Astrophotography exposure calculators
- Star chart apps to locate celestial objects
With these handy tools, you’ll be ready to capture the wonders of the night sky in no time!
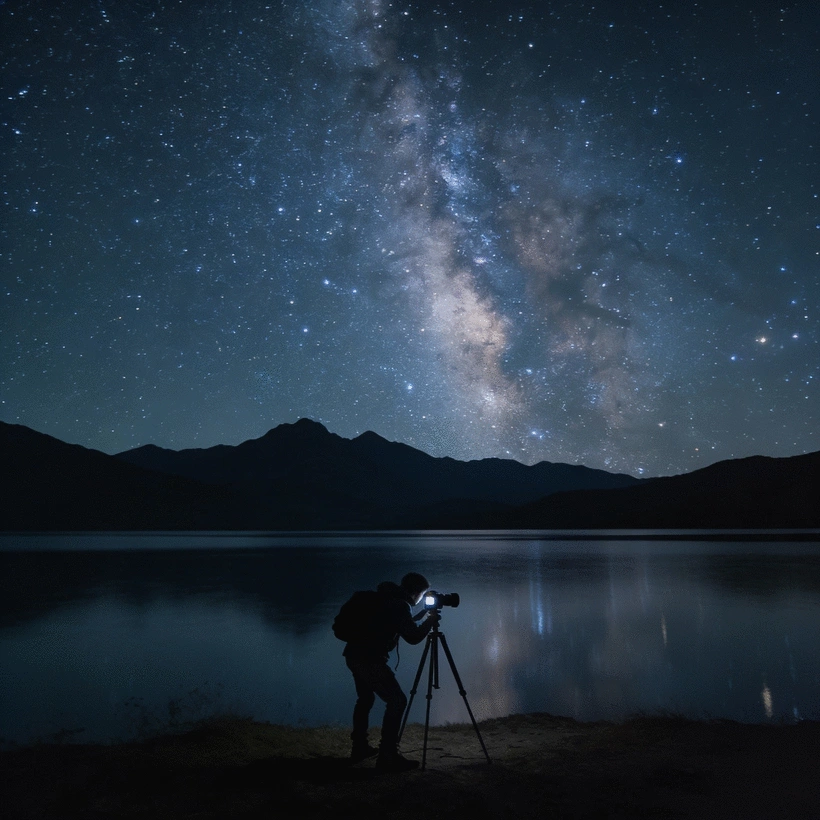
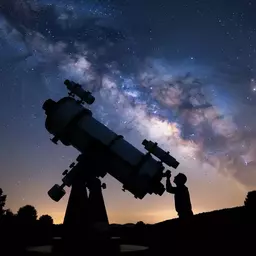
Exploring Celestial Events: Capturing the Milky Way and More
As you continue your astrophotography journey, there's a universe of celestial events waiting to be captured! From the shimmering band of the Milky Way to mesmerizing comets, there's so much to explore.
Techniques for Photographing Nebulae and Comets
When aiming to photograph nebulae and comets, remember that patience is key. Here’s a quick guide to enhance your shooting technique:
- Use a longer exposure to capture more light from faint objects
- Opt for a wide aperture to enhance detail
- Plan your shots around optimal viewing times and weather conditions
These techniques will help ensure that you capture the beauty of these celestial bodies in stunning detail!
Preparing for Shooting Stars and Other Night Sky Phenomena
Events like meteor showers can offer incredible photo opportunities. Here’s how to prepare:
- Research the best times and locations to observe
- Set up early to find the perfect angle and composition
- Keep your camera settings optimized for rapid-fire shots
With the right preparation, you'll be ready to capture those fleeting moments in the night sky. Let Milroy Observatory be your guide as you embark on your astrophotography adventures! Remember, every shot is a chance to share the beauty of the universe with others. For more general advice on observing celestial events, explore our guide to night sky observation for beginners.
Recap of Key Points
Here is a quick recap of the important points discussed in the article:
- ISO settings should start around 1600 for a good balance between light sensitivity and noise.
- A wide aperture (f/2.8 or lower) is essential for capturing the faint light of celestial objects.
- Utilize the 500 Rule to avoid star trails by calculating the maximum shutter speed based on your lens focal length.
- Experiment with different ISO, aperture, and shutter speed combinations to find what works best for your camera and conditions.
- Post-processing techniques such as adjusting contrast and reducing noise can greatly enhance your astrophotography images.
- Engage with the astronomy community to share your work and gain inspiration from others.